
📌 Giới Thiệu
Outline là một nền tảng wiki mã nguồn mở giúp bạn quản lý tài liệu một cách trực quan và dễ dàng. Nếu bạn muốn tự host Outline thay vì sử dụng dịch vụ cloud, bài viết này sẽ hướng dẫn bạn cài đặt Outline Wiki trên máy chủ của bạn bằng Docker Compose.
💡 Lợi ích khi tự host Outline Wiki:
✅ Không phụ thuộc vào Slack hoặc Google để đăng nhập (sử dụng OIDC server thay thế).
✅ Cấu hình nhanh với script make và bash.
✅ Hỗ trợ lưu trữ file cục bộ mà không cần dùng MinIO (từ phiên bản 0.72.0-1).
1️⃣ Cài Đặt Outline Wiki Bằng Docker Compose
🔹 Yêu Cầu Hệ Thống
- Server chạy Linux (Ubuntu 22.04 hoặc tương đương).
- Docker và Docker Compose đã được cài đặt.
Nếu bạn chưa cài đặt Docker hãy thực hiện cài đặt chúng và sau khi cài đặt xong, hãy thực hiện theo các bước dưới đây.
🔹 Bước 1: Clone Repository
Trước tiên, tải về bộ cài đặt từ GitHub:
git clone https://github.com/vicalloy/outline-docker-compose.git
cd outline-docker-compose
🔹 Bước 2: Cấu Hình Hệ Thống
Sao chép file config mẫu và chỉnh sửa:
cp scripts/config.sh.sample scripts/config.sh
vim scripts/config.sh
📌 Lưu ý:
- Bạn cần chỉnh sửa các thông tin quan trọng như cấu hình cơ sở dữ liệu, cổng truy cập, tên miền, email quản trị,…
🔹 Bước 3: Cài Đặt Và Khởi Chạy Outline
Sau khi đã chỉnh sửa cấu hình, chạy lệnh sau để khởi tạo hệ thống:
make install
✅ Lệnh này sẽ:
1️⃣ Tạo file docker-compose.yml theo cấu hình của bạn.
2️⃣ Khởi chạy container Docker cho Outline.
3️⃣ Khởi tạo OIDC server, thêm client cho Outline và tạo tài khoản admin.
Sau khi hoàn tất, nếu bạn không chỉnh sửa gì trong file config, mặc định bạn có thể truy cập Outline Wiki tại:
http://127.0.0.1:8888⚡ Mặc định, Outline sẽ chạy trên cổng 8888. Bạn có thể thay đổi cổng trong cấu hình.
Dưới đây là file cấu hình config.sh mẫu nhưng mình đã sửa lại 1 chút.
# Outline Wiki 0.72.0-1 supports local file storage.
# Specify what storage system to use. Possible value is one of "s3" or "local".
# For "local", the avatar images and document attachments will be saved on local disk.
FILE_STORAGE=local
# The url used to vist this web site.
URL=http://10.10.99.251:8888
# The default interface language. See translate.getoutline.com for a list of
# available language codes and their rough percentage translated.
DEFAULT_LANGUAGE=en_US
# https://docs.djangoproject.com/en/2.2/ref/settings/#language-code
LANGUAGE_CODE=en-us
# https://en.wikipedia.org/wiki/List_of_tz_database_time_zones
TIME_ZONE=UTC
FORCE_HTTPS=false
# The domain in you email.
# Comma separated list of domains to be allowed (optional).
# If not set, the first user's domain is allowed by default.
ALLOWED_DOMAINS=

# Docker image version
OUTLINE_VERSION=0.72.0-3
POSTGRES_VERSION=15.2-alpine3.17
MINIO_VERSION=RELEASE.2022-11-17T23-20-09Z
MINIO_MC_VERSION=RELEASE.2022-11-17T21-20-39Z

# Nginx
# The nginx bind ip and port.
# If you use ip address to access outline, this ip and port should be same as the URL.
# If this server behind a proxy(nginx), you can bind to `127.0.0.1`.
HTTP_IP=10.10.99.251
HTTP_PORT_IP=8888

# Docker
# If you server behind a proxy(nginx), and the proxy created by docker. You can use the proxy's network. Set the `NETWORKS` to proxy's network name, and set `NETWORKS_EXTERNAL` to `true` .
# The sample config for host nginx can be find in `config/sample/nginx_outline.conf`.
NETWORKS=outlinewiki
NETWORKS_EXTERNAL=false

# Secret keys, update by script.
# You shouldn't edit it.
MINIO_ACCESS_KEY=
MINIO_SECRET_KEY=
OIDC_CLIENT_SECRET=
OUTLINE_SECRET_KEY=
OUTLINE_UTILS_SECRET=
DJANGO_SECRET_KEY=
Mình chỉ chỉnh sửa 2 tham số URL=http://10.10.99.251:8888 và HTTP_IP=10.10.99.251 để truy cập thay cho localhost.
2️⃣ Quản Lý Dịch Vụ Outline
🔹 Các Lệnh Cơ Bản
Sau khi cài đặt xong, bạn có thể quản lý dịch vụ Outline Wiki bằng các lệnh make sau:
| Lệnh | Chức năng |
|---|---|
make start | Khởi động Outline Wiki |
make stop | Dừng dịch vụ |
make clean | Xóa các file config do script tạo |
make clean-data ⚠️ | Xóa toàn bộ dữ liệu (Không thể khôi phục) |
Tham khảo output khi chạy make install nhé.
shell> make install
cd ./scripts && bash ./main.sh init_cfg
/usr/local/bin/docker-compose up -d
[+] Running 6/6
 ⠿ Network outline-docker-compose_outlinewiki         Created                                                                                                                                                                            0.1s
 ⠿ Container outline-docker-compose-wk-postgres-1     Started                                                                                                                                                                            0.7s
 ⠿ Container outline-docker-compose-wk-redis-1        Started                                                                                                                                                                            0.8s
 ⠿ Container outline-docker-compose-wk-oidc-server-1  Started                                                                                                                                                                            0.8s
 ⠿ Container outline-docker-compose-wk-outline-1      Started                                                                                                                                                                            1.1s
 ⠿ Container outline-docker-compose-wk-nginx-1        Started                                                                                                                                                                            1.4s
cd ./scripts && bash ./main.sh reload_nginx
2025/02/21 15:50:18 [notice] 29#29: signal process started
sleep 1
/usr/local/bin/docker-compose exec wk-oidc-server bash -c "make init"
python manage.py creatersakey
RSA key successfully created with kid: c88da1680e637bbfe46cd3b214648684
python manage.py createsuperuser
Username (leave blank to use 'root'): hoanghd
Email address: hoanghd164@gmail.com
Password:
Password (again):
Superuser created successfully.
/usr/local/bin/docker-compose exec wk-oidc-server bash -c "python manage.py loaddata oidc-server-outline-client"
Installed 1 object(s) from 1 fixture(s)
cd ./scripts && bash ./main.sh reload_nginx
2025/02/21 15:50:38 [notice] 43#43: signal process started
Sau khi triển khai xong, truy cập http://10.10.99.251:8888, chọn Continue with OpeniD.
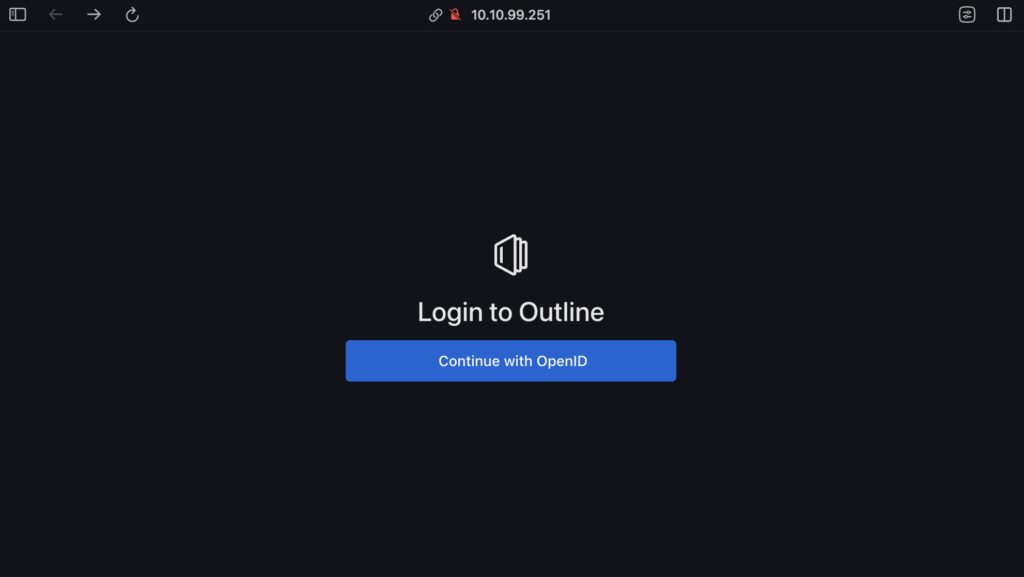
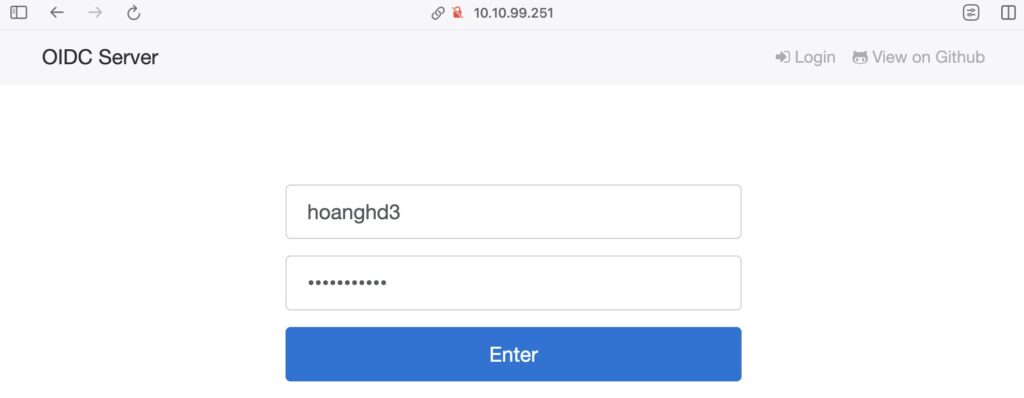
Đăng nhập với thông tin username đã tạo, mình sửa dụng username admin của mình luôn.
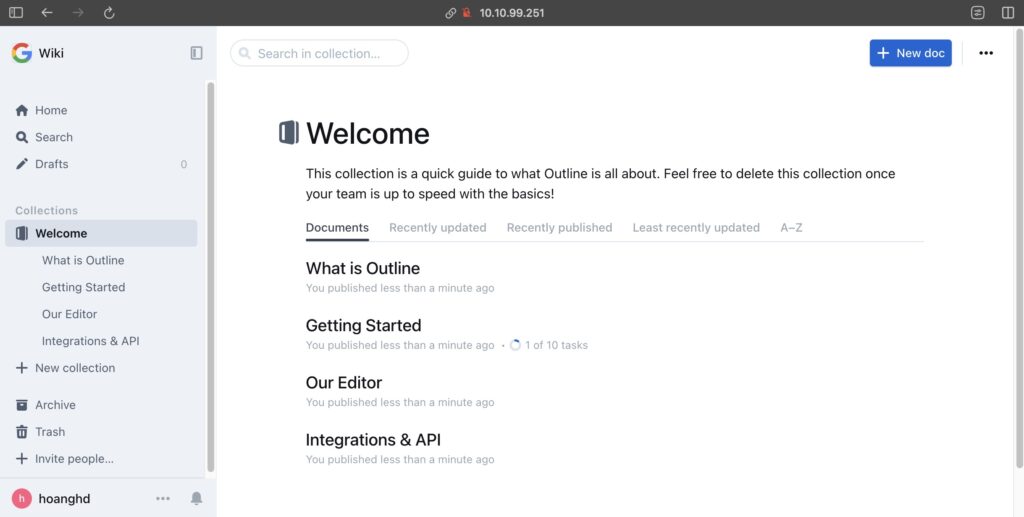
Bấm Accept.

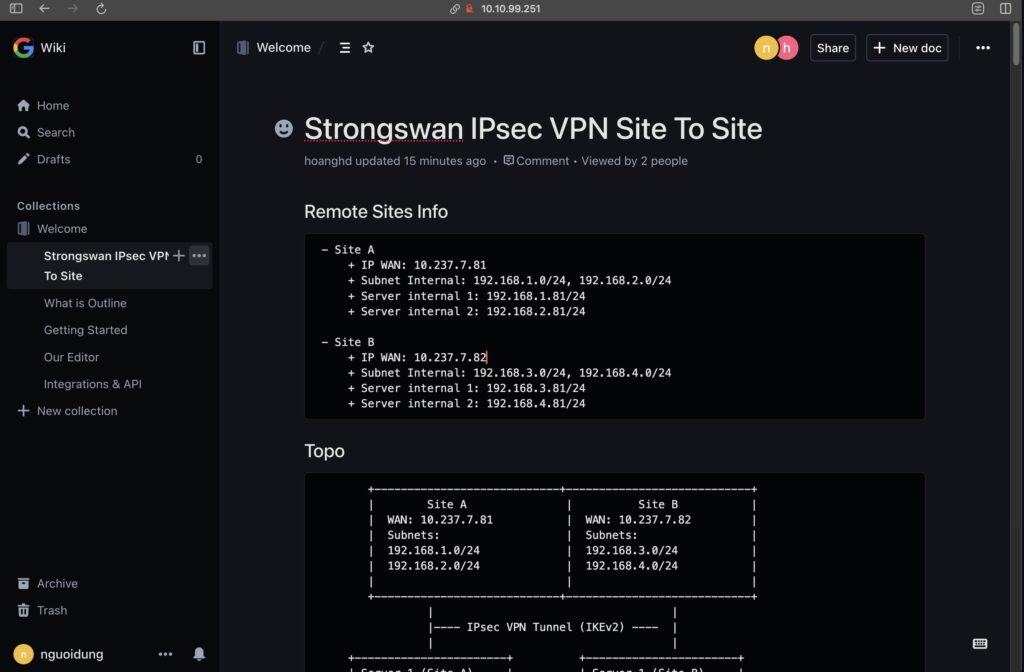
Và đây là giao diện chính.
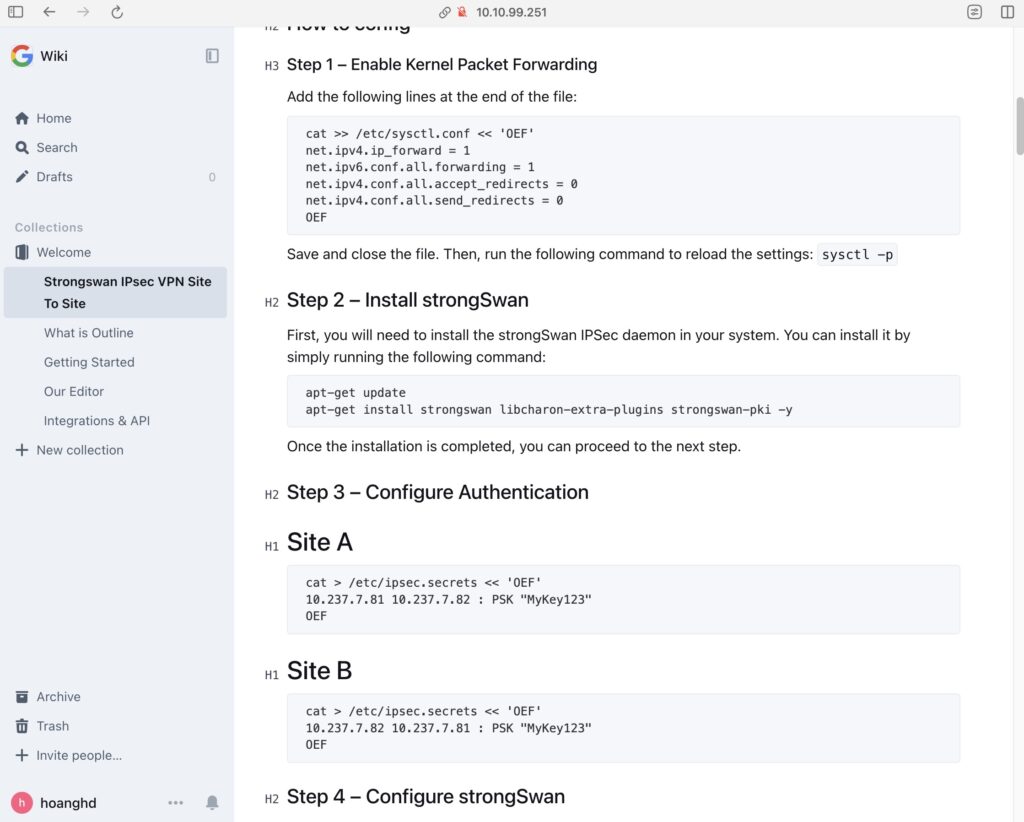
Ví dụ khi viết 1 bài viết.
3️⃣ Quản Lý Người Dùng
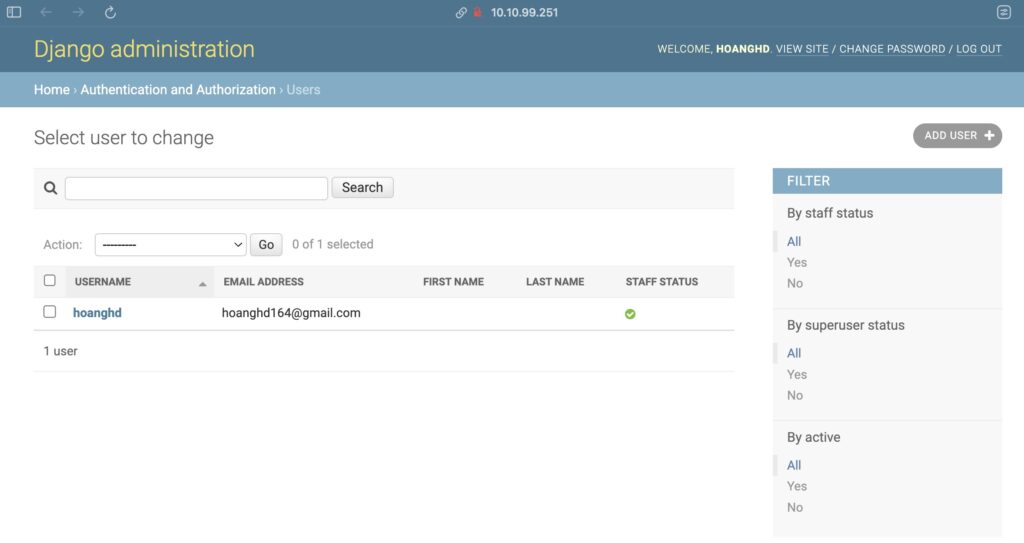
Sau khi cài đặt xong, bạn có thể thêm người dùng mới bằng cách truy cập vào đường dẫn:
http://10.10.99.251:8888/uc/admin/auth/user/Đây là giao diện.
Đây là ví dụ tạo username có tên nguoidung.
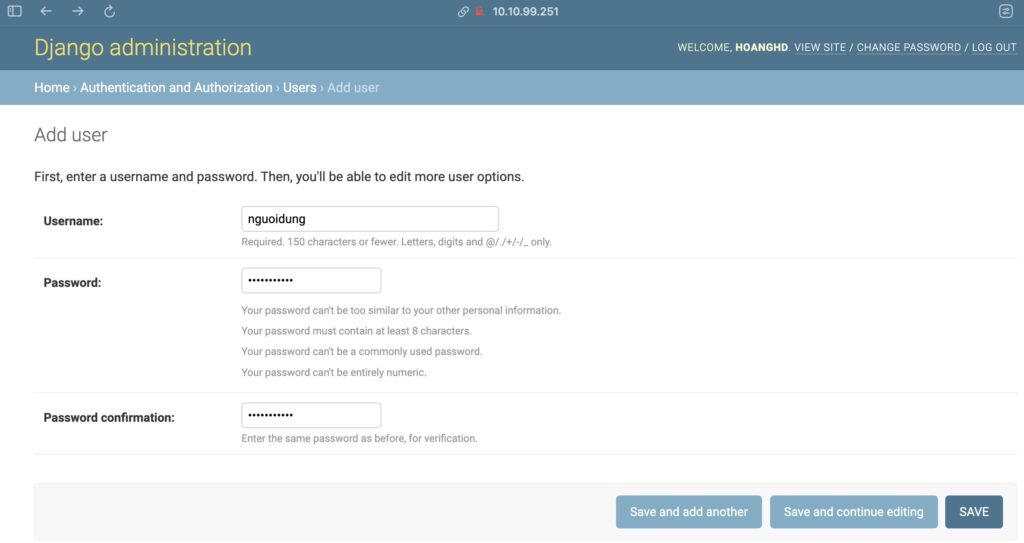
Nhập các thông tin bạn mong muốn.
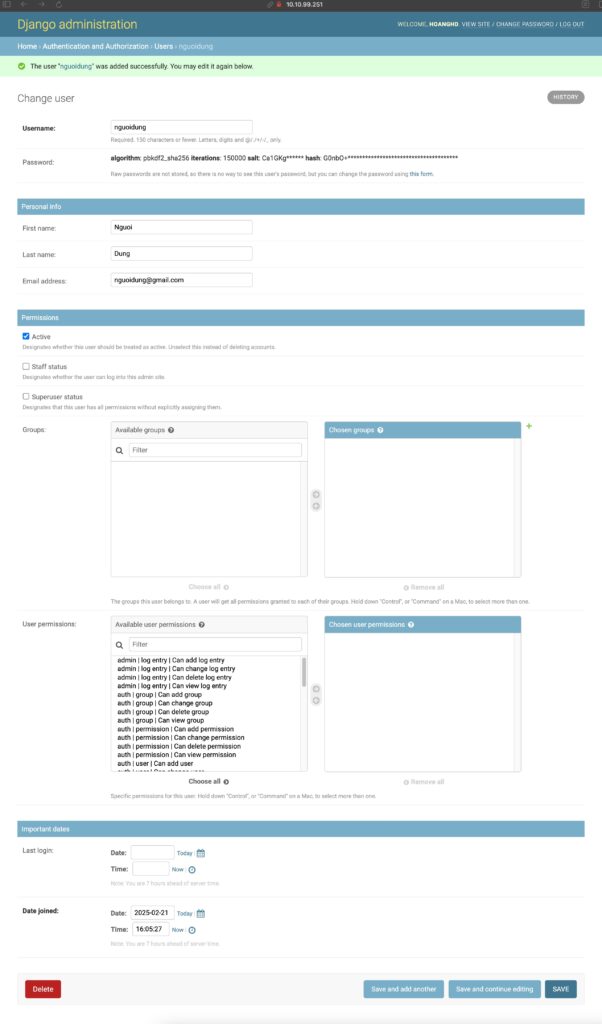
Lưu lại bạn được kết quả.
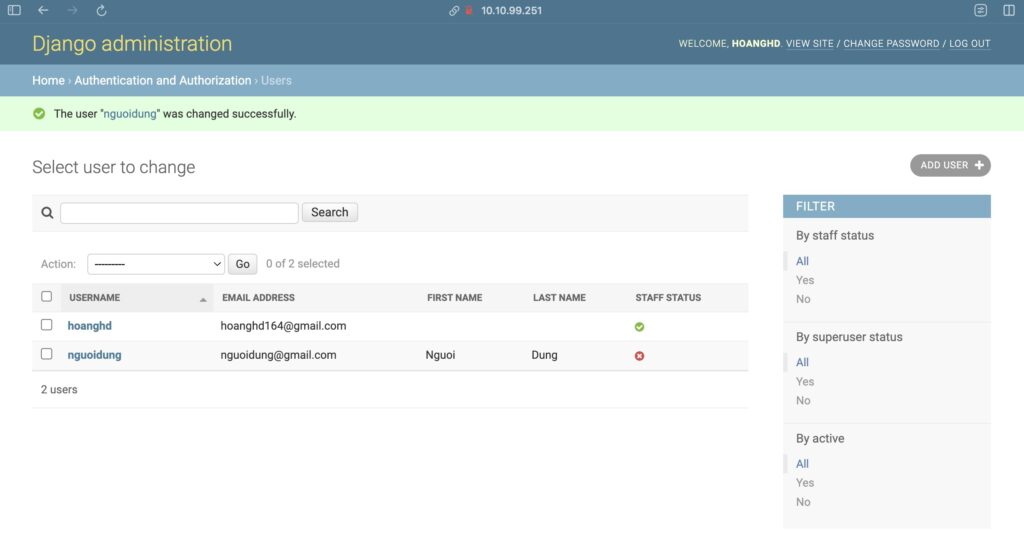
Thử login username nguoidung.
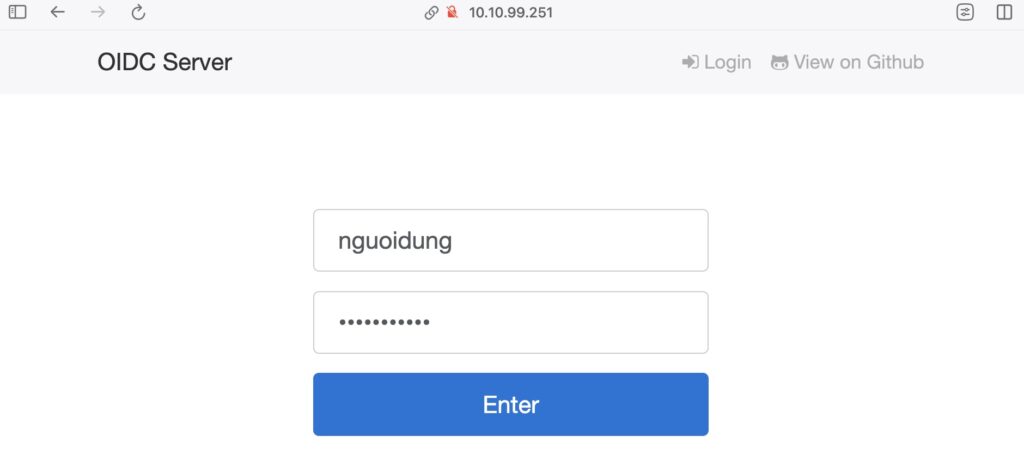
Bấm Accepp.
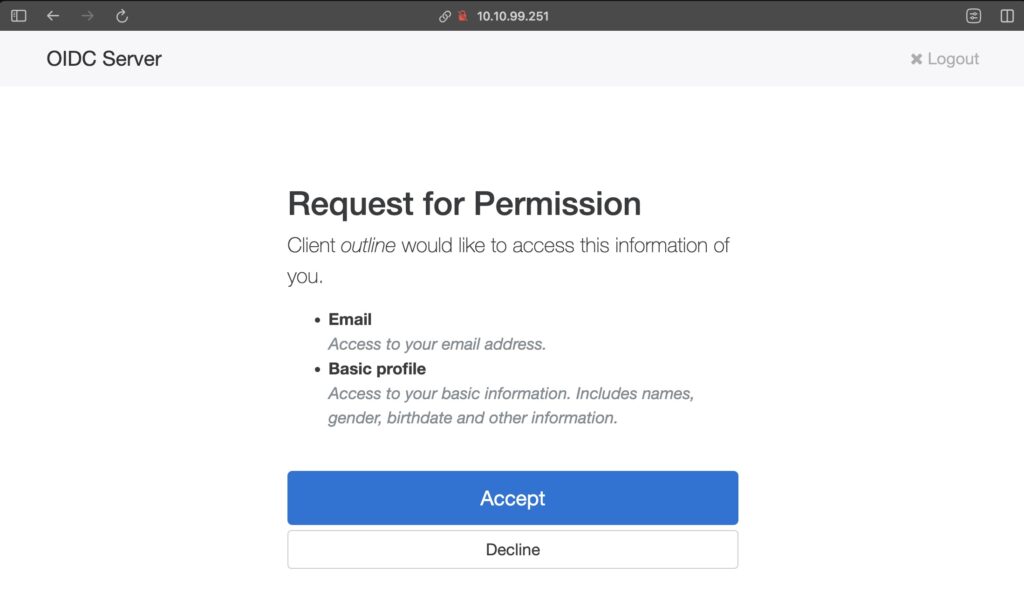
Kết quả.
📌 Lưu ý quan trọng:
🔹 Người dùng mới cần có email thì mới có thể đăng nhập.
🔹 Nếu domain email của người dùng khác với domain của admin, bạn cần thêm domain đó vào ALLOWED_DOMAINS trong cài đặt.
4️⃣ Cấu Hình Lưu Trữ File Cục Bộ
Từ phiên bản 0.72.0-1, Outline hỗ trợ lưu trữ file trực tiếp trên ổ đĩa mà không cần MinIO.
Để bật tính năng này, chỉnh sửa file config scripts/config.sh và thêm dòng sau:
FILE_STORAGE=localSau đó khởi động lại dịch vụ:
make stop && make start📌 Kết Luận
Vậy là bạn đã hoàn thành việc cài đặt và tự host Outline Wiki bằng Docker Compose. 🚀
📌 Tóm tắt các bước chính:
✅ Tải về mã nguồn: git clone https://github.com/vicalloy/outline-docker-compose.git
✅ Cấu hình hệ thống: vim scripts/config.sh
✅ Cài đặt và chạy Outline: make install
✅ Truy cập Outline tại: http://10.10.99.2518888
✅ Quản lý người dùng: http://10.10.99.2518888/uc/admin/auth/user/
✅ Bật lưu trữ file cục bộ: FILE_STORAGE=local
Tham khảo https://github.com/vicalloy/outline-docker-compose
